30 Amazing Selective Color Photographs (And How To Do It Yourself in Gimp)

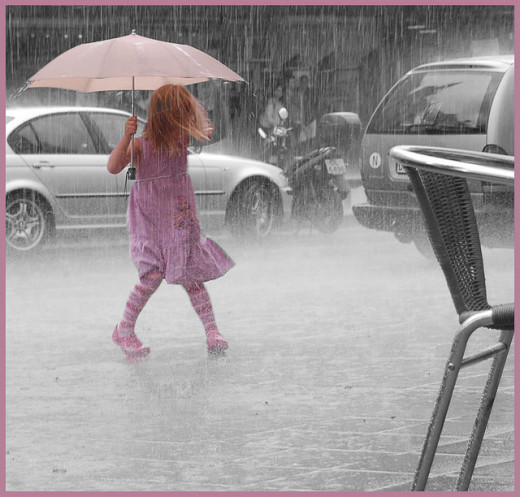
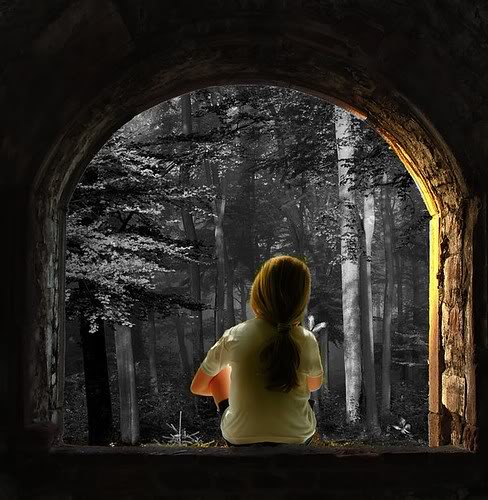
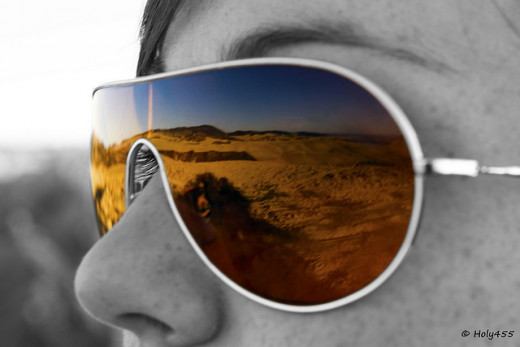
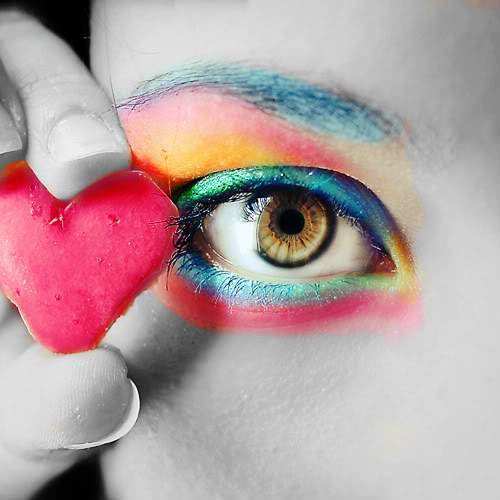
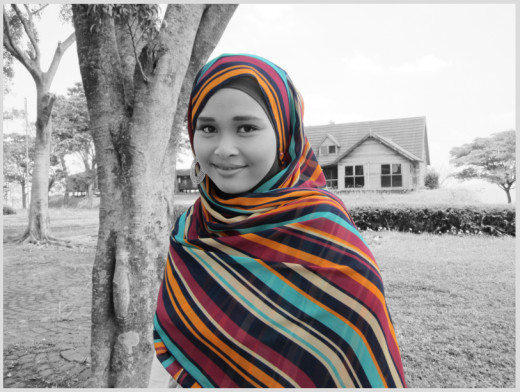
According to Wikipedia, "Selective color is a post-processing technique where most of a photo is converted to black and white, but some parts are left in color. This is usually achieved by using layers and masks in photo editing software." It is a simple way of adding interest to an image and drawing attention to the main object in your photo.
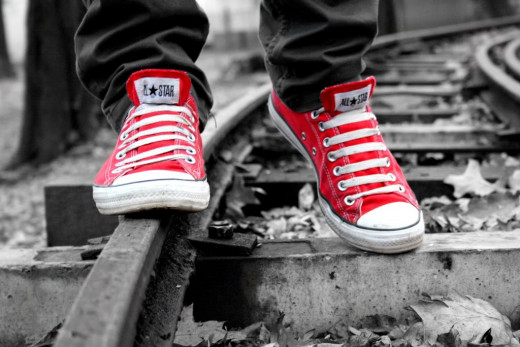
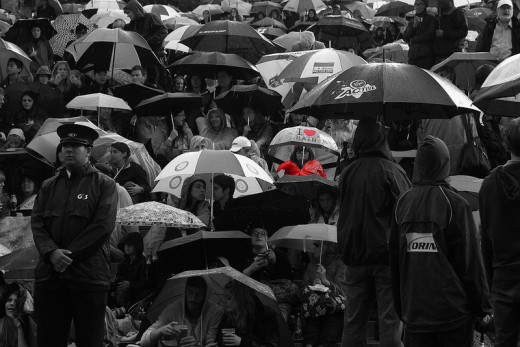
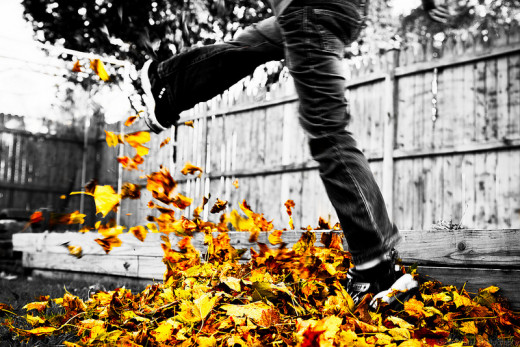
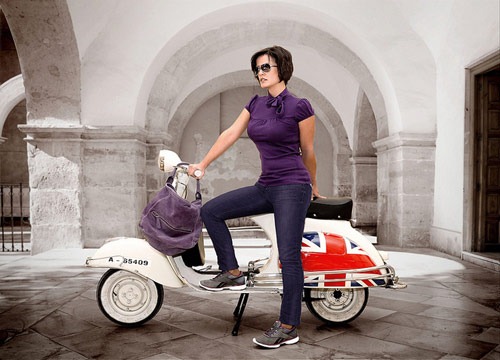
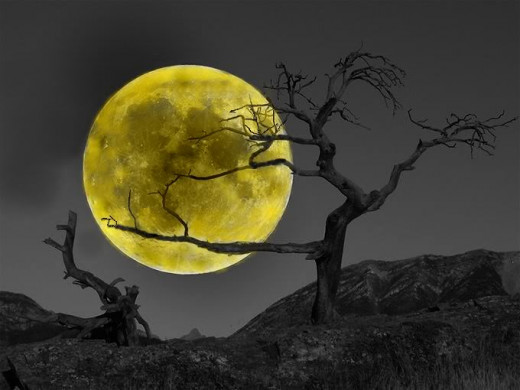
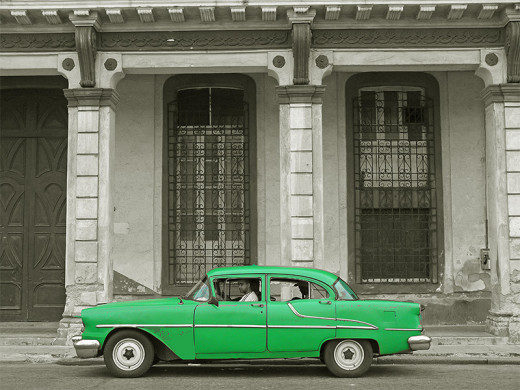
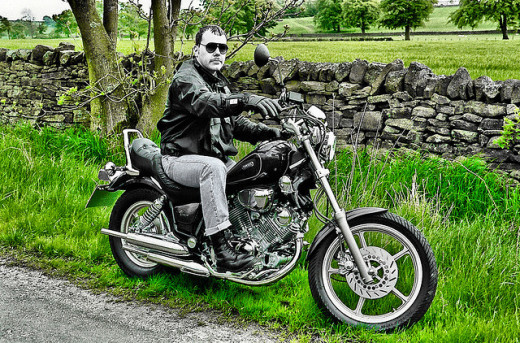
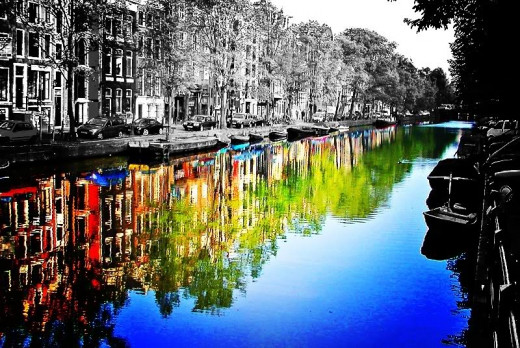
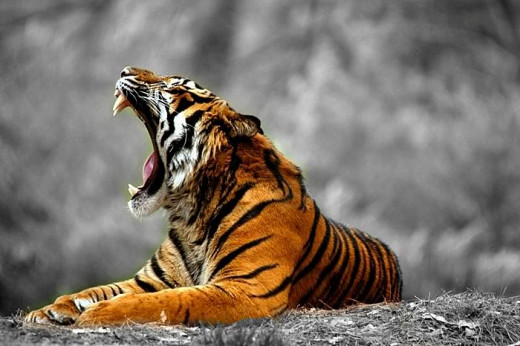
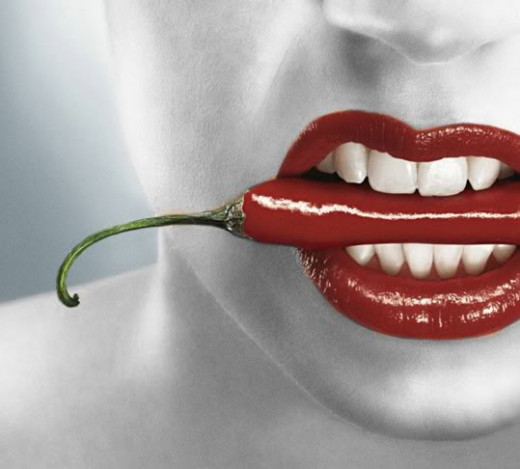
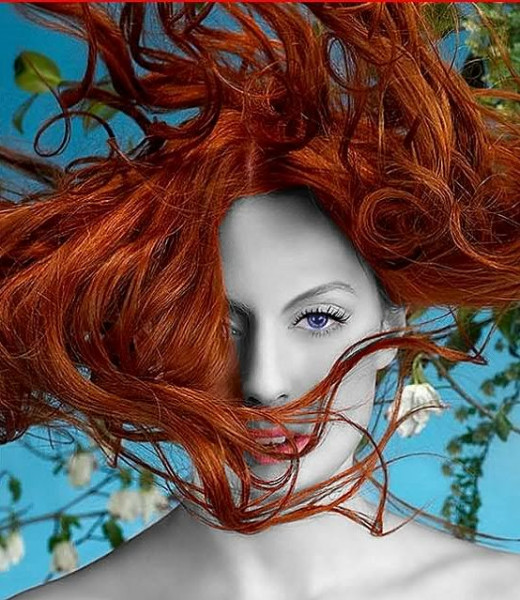
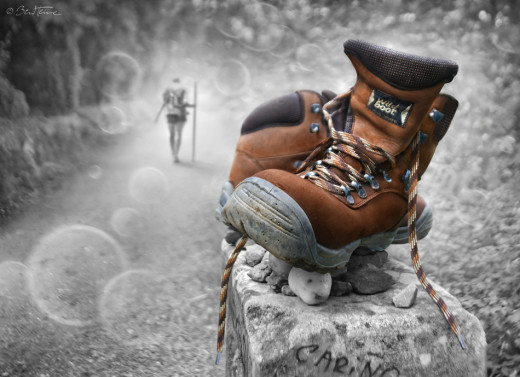
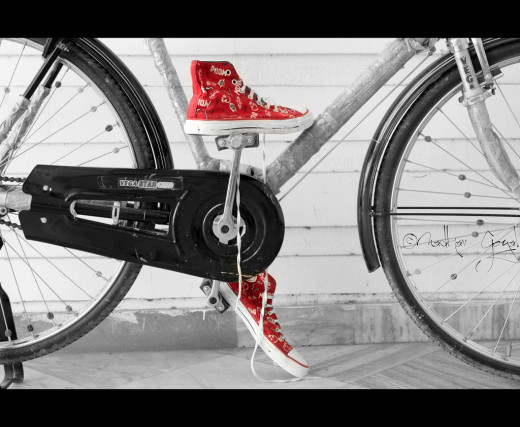
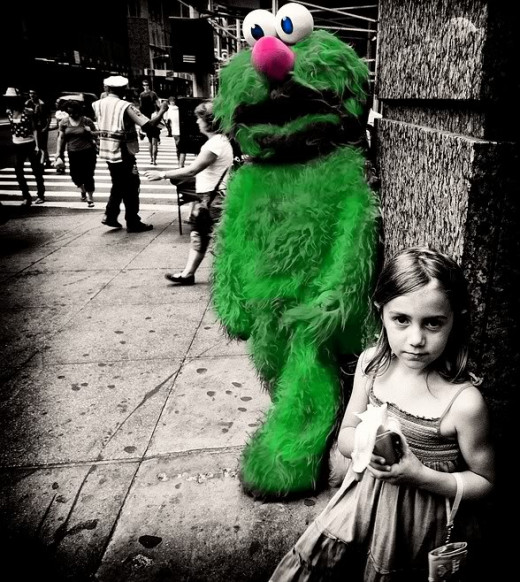
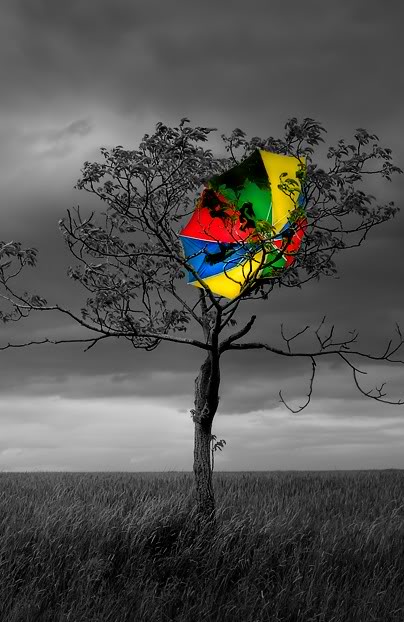
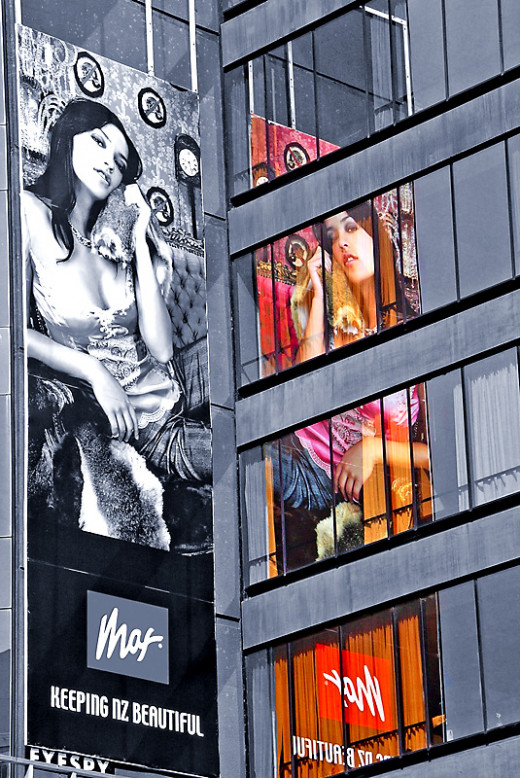
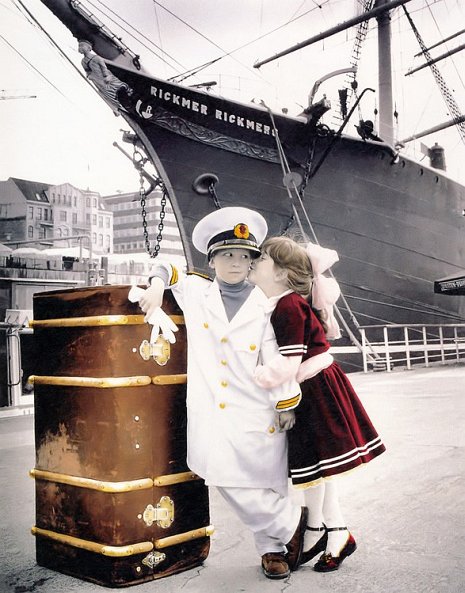
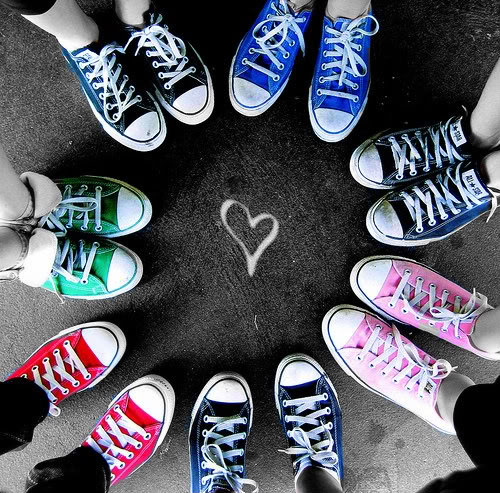
Lets look at a 30 amazing examples of selective color photographs.


How to Selective Color using GIMP
Want to get a photo like the above photos? Well, here is how to dot it.

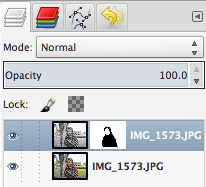
Open your photo in Gimp. Duplicate the layer via Layer > Duplicate Layer or by clicking the duplicate icon in the layer box. Then, remove the color of the layer copy via Colors > Desaturate. You'll get a black and white photo. You can adjust the contrast and sharpness of the photo if you want.


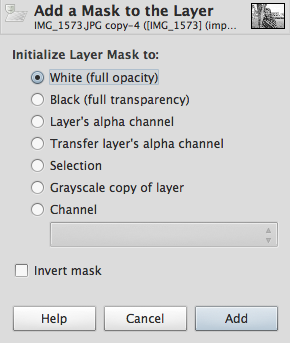
Add a mask to the layer by clicking Layer > Mask > Add Layer Mask.
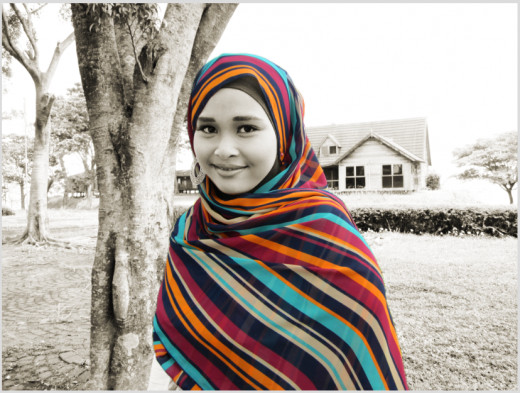
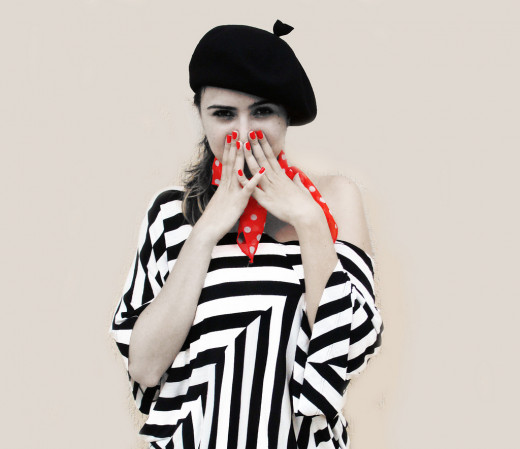
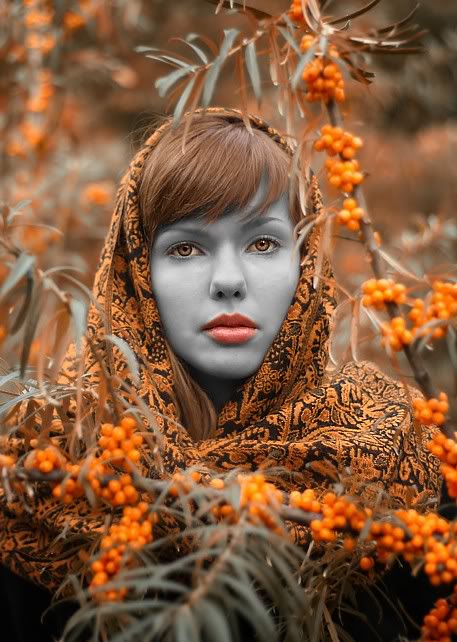
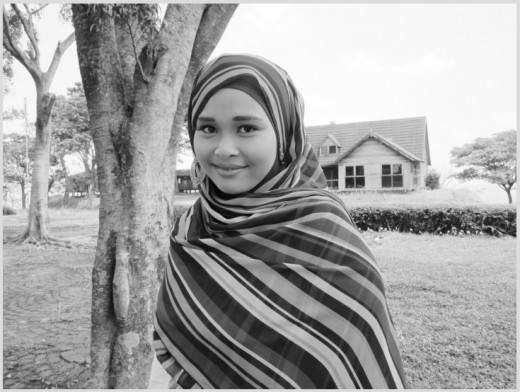
Select the object you want to leave the color. Here, I want to colorize the scarf. So, I select it using Free Select Tool.
After you select it, fill the selection with black color to give a full transparency.
To add an artistic look, you can enhance the color saturation of the original layer and add a color tone, such as sepia tone, to the duplicated layer.